In the previous post, I showed you how to create a token in ASP.NET Core. Now I will show you how you can use it in a project that uses Angular.
Example
In the beginning, let’s create an angular project with the command ng new App-SPA –style=scss –routing (in the future I plan to write a bit more about Angular).
Let’s create a service that will get the token from API and after obtaining it, save it to localstorage.
baseurl – there is our api on port 5000
import { Injectable } from '@angular/core';
import { HttpClient } from '@angular/common/http';

@Injectable()
export class AuthService {
    baseUrl = 'http://localhost:5000/';
    constructor(private http: HttpClient) { }

    getAndSaveToken() {
         this.http.post(this.baseUrl + 'api/auth', null).subscribe((response: any) => {
            if (response) {
                localStorage.setItem('token', response.token);
            }
        });
    }
}
Let’s remind what the action to create a token looks like in API.
[HttpPost]
public IActionResult Authorize()
{
    var claims = new []
    {
        new Claim(ClaimTypes.NameIdentifier, "Some identifier"),
        new Claim(ClaimTypes.DateOfBirth, DateTime.Now.AddYears(-25).ToShortDateString())
    };
    var key = new SymmetricSecurityKey(Encoding.UTF8.GetBytes(_configuration.GetSection("AppSettings:TokenSecret").Value));

    var credentials = new SigningCredentials(key,SecurityAlgorithms.HmacSha512);

    var tokenDescriptor = new SecurityTokenDescriptor
    {
        Subject = new ClaimsIdentity(claims),
        Expires = DateTime.Now.AddHours(1),
        SigningCredentials = credentials
    };

    var tokenHandler = new JwtSecurityTokenHandler();

    var token = tokenHandler.CreateToken(tokenDescriptor);

    return Ok(new {token= tokenHandler.WriteToken(token)});
}
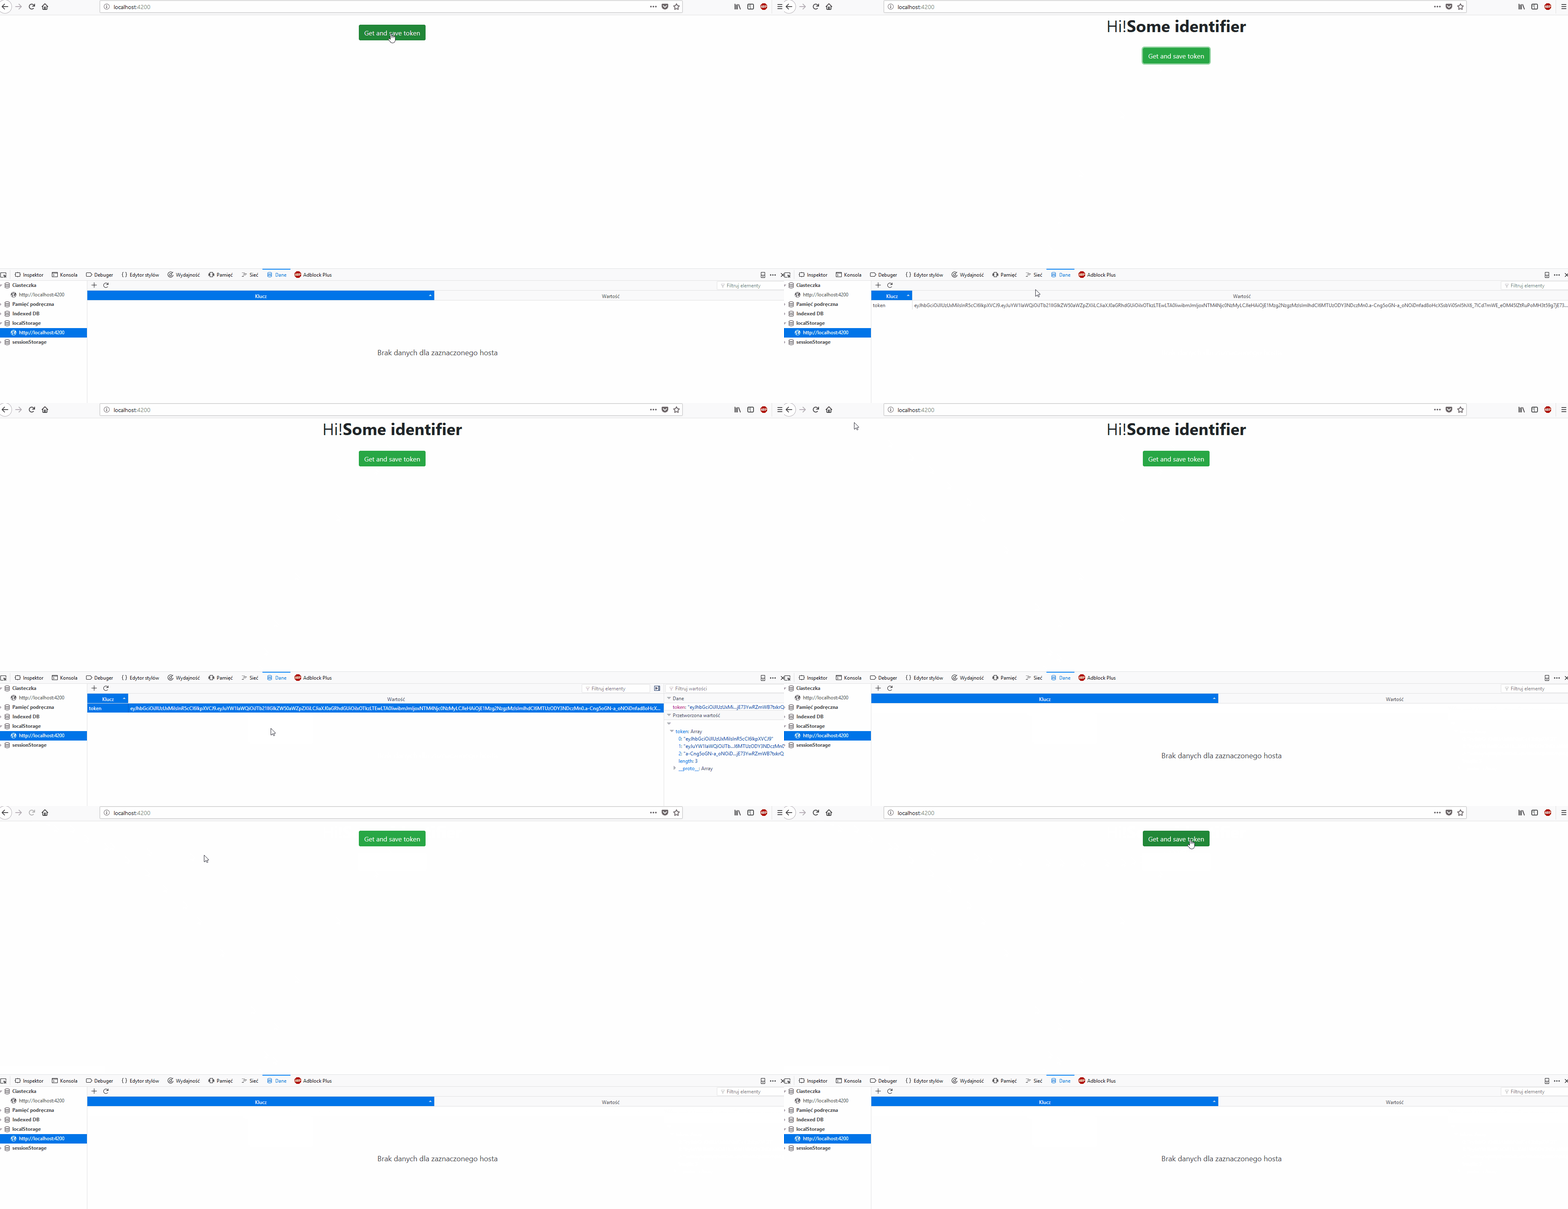
After calling the method from the AuthService, we see that our token has been saved there.

*do not forget to add the CORS service to API.
services.AddCors();

///

app.UseCors(x=>x.AllowAnyOrigin().AllowAnyMethod().AllowAnyHeader());
To decode token I will use the library angular2-jwt. So let’s install it by npm install @auth/angular-jwt.
At first creat object jwtHelper.
jwtHelper = new JwtHelperService();
Then you can easily use it to decode the token.
    decodeToken() {
        const token = localStorage.getItem('token');
        if (token) {
            return this.jwtHelper.decodeToken(token);
        }
    }
Or seeing if the token did not expire.
    tokenExistAndNotExpire() {
        const token = localStorage.getItem('token');
        return !this.jwtHelper.isTokenExpired(token);
    }
For testing the operation of the application I created a very simple html view with a button that get and saves the token to localstorage. Additionally, nameid (from claims) is displayed if the token has not expired.
  <h1 class="d-flex justify-content-center align-items-center vertical-center" *ngIf="tokenExist()">Hi! <b> {{decodedToken?.nameid}} </b></h1>
  <div class="d-flex justify-content-center align-items-center vertical-center" style="height:100px;">
    <div class="form-group">
      <button class="btn btn-success" (click)="getToken()">Get and save token</button>
    </div>
  </div>
App-component.ts looks like below.
import { AuthService } from './_services/AuthService.service';
import { Component, OnInit } from '@angular/core';
import { JwtHelperService } from '@auth0/angular-jwt';

@Component({
  selector: 'app-root',
  templateUrl: './app.component.html',
  styleUrls: ['./app.component.scss']
})
export class AppComponent implements OnInit {
  constructor(private authService: AuthService) { }
  jwtHelper = new JwtHelperService();
  decodedToken: any;

  ngOnInit() {
    this.decodedToken = this.authService.decodeToken();
  }

  getToken() {
    this.authService.getAndSaveToken();
  }

  tokenExist() {
    this.decodedToken = this.authService.decodeToken();
    return this.authService.tokenExistAndNotExpire();
  }
}
And it presents it as follows:

In the next post I will describe the mechanics of the auth guard.
Whole code on github.


Lekki i przyjemny artykuł. Sam jestem na etapie poznawania angulara. Zapraszam do siebie na bloga.